Have you ever wanted to find some patient photos from several years ago, but couldn’t remember the patient’s name? Maybe you’re updating your website with some new photos, and it was a great veneer case, but the patient moved away, and you’re completely stumped? Especially if you’re using your Practice Management Software (PMS), this becomes a virtually impossible problem to resolve. So how do you manage this?
Adobe Lightroom Smart Collections for Dentists
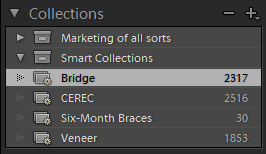 One of the most powerful and useful tools for dentists managing their dental photography catalogs, is the Lightroom Smart Collections feature. Based (usually) on keywords that you’ve assigned to your photos, whether on importing them or adding them later, Smart Collections automatically collect all photos with a given keyword. You can also create Smart Collections to collect photos with a certain Rating (1-5 stars), Color Label (red, green, yellow, purple, blue), Metadata (date taken, GPS location if your camera has this feature, etc), or even combinations of criteria.
Keep Your Patient Photos Well-Organized
I’ve already discussed a basic structure for organizing dental pictures previously, and as long as you remember the year and procedure type, this can be an easy way to find a patient, because that name should show up in the list of patients under that procedure. However, if you’ve been practicing long enough and taking enough pictures, this is not always easy. Where I live, Charlotte NC, is a highly transient area, with lots of professionals moving into and out of town, so we tend to have high patient turnover rates. In addition, we often have patients driving long distances for our unique combination of services, including LANAP Laser Periodontal TherapyTM, Six-Month Braces, and Cerec Same-Day Crowns, and those patients return to their regular family dentist after their treatment with us is complete. It’s hard to remember patients we don’t see regularly, right?
Setting Up Your Smart Collections
When thinking of all the possible ways and combinations you could set up Smart Collections, the enormous possibilities can seem daunting. Remember, though, you only need to do this for image sets that you really want to track over time. This type of organization is very useful for dental lecturers and for anyone wanting to use your own photos in your marketing. Theoretically, this might include sets as follows:
- Dental Implants
- Straumann
- Implant Direct
- Blue Sky Bio
- Porcelain Veneers
- Crowns
- Lab-made
- Cerec
- Whitening
- Six-Month Braces
- Invisalign
Smart Collections Save Time
If you’re anything like I am, with a dental photo catalog of nearly 65,000 images over the last 8 years, and you want to find photos of a given subject, without having to remember every patient name and sort through them all, Smart Collections are the way to go. Because they AUTOMATICALLY collect every photo in your catalog with the criteria you select, they’re a huge time-saver.
Learn to use Adobe Photoshop Lightroom Smart Collections, and you’ll make your life so much easier, any time you need to find one or more photos, but don’t remember the patient’s name, or if you want to find photos from a lot of patients of a certain procedure, material, etc.
Please let me know in the comments if you have any questions, or if you’ve found other easy ways to organize your photos!
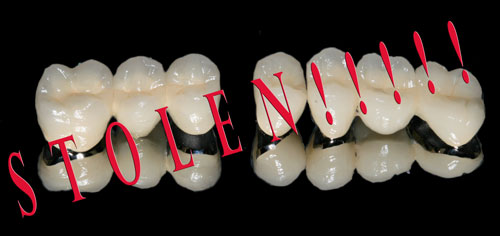 To my knowledge at this time, I’ve never had any of my online photos “stolen,” by which I mean no one has downloaded or “hot-linked” them for use on their on website or in other marketing media. That’s not to say it hasn’t happened, it just means I’ve never found any examples, because I don’t spend the time searching to find out.
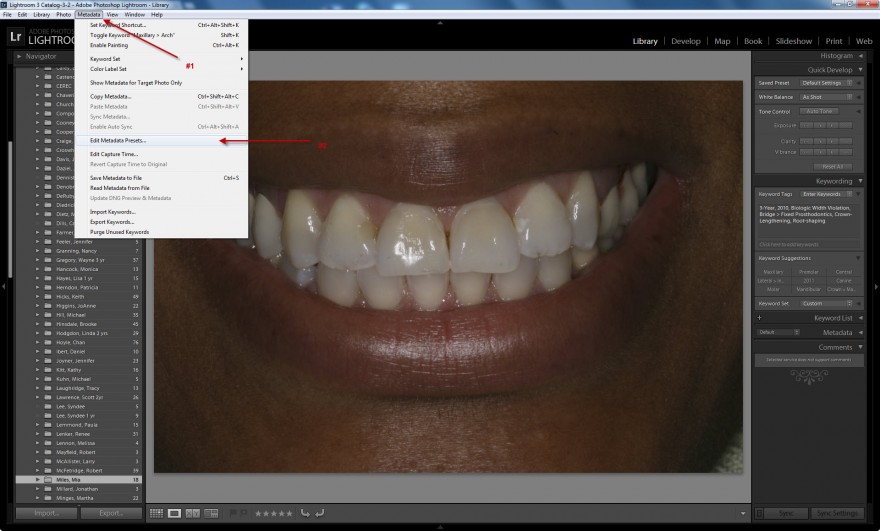
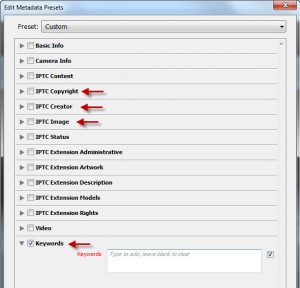 You don’t need to complete everything – total overkill. The ones you do want to complete are the following sections, and at the end of this article you’ll see a set of screenshots of the information I include.
